
Simple Steps to Get Cabinets Clean, Smooth, and Ready for a New Finish
To prepare bathroom cabinets before refinishing, start by removing doors and hardware, then clean off soap film, dust, and grease. After that, fix small damage, sand the surfaces, and wipe everything down well. Good prep helps bathroom refinishing look smoother and last longer. If your cabinets are in rough shape or have old peeling coatings, extra care matters before any new finish goes on.
What You Need Before Starting
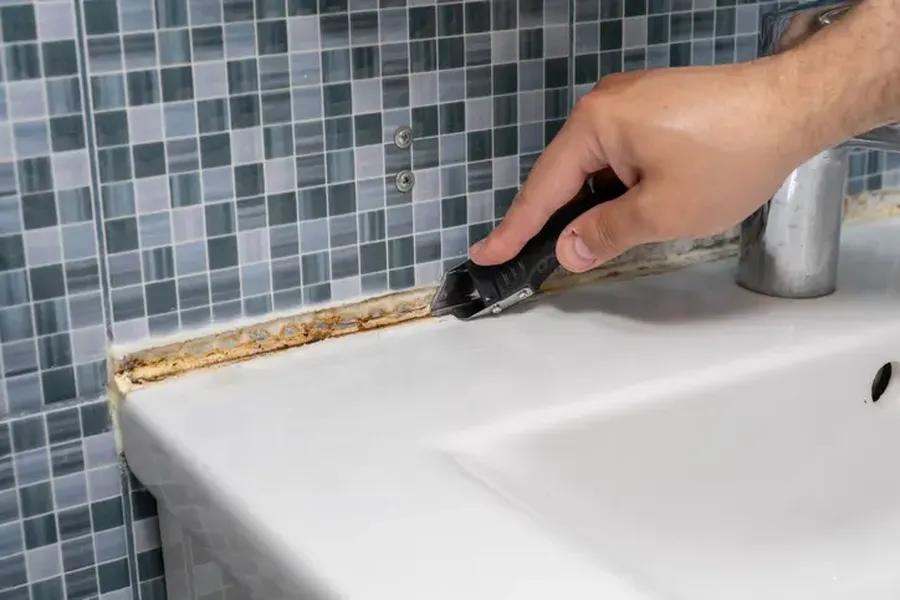
Before you begin, gather your tools and set up a safe work area. Bathrooms are often small, so it helps to stay organized. Put screws and hinges in labeled bags. Lay down drop cloths to catch dust and drips. Open windows if you can, and use a fan for airflow.
For this kind of service work, many people use cleaners, sandpaper, tack cloths, wood filler, painter’s tape, and primer. Even if this is part of a larger home update, prep work should not be rushed. The better the prep, the better the final result.
- Screwdriver or drill
- Degreasing cleaner
- Microfiber cloths
- Sandpaper in medium and fine grits
- Wood filler for dents or chips
- Painter’s tape
- Vacuum or dust brush
- Primer made for cabinets
- Safety glasses and gloves
Step-by-Step Process
Cabinet prep is easier when you follow the same order every time. Skipping steps can lead to peeling, rough texture, or stains showing through the new finish. This is true in many bathroom refinishing jobs, especially in older homes where moisture has built up over time.
- Remove cabinet doors, drawers, knobs, and hinges. Label each piece so it goes back in the right spot.
- Clean all surfaces well. Use a cleaner that cuts soap film and grime. Pay close attention to areas near sinks and handles.
- Let everything dry fully. Wet wood or damp seams can cause problems later.
- Check for damage. Look for chips, swelling, loose edges, or soft spots from water.
- Fill small dents or holes with wood filler. Let it dry, then sand it smooth.
- Sand the cabinet boxes, doors, and drawer fronts. This helps the new coating stick better.
- Vacuum all dust, then wipe with a clean cloth. A dusty surface can ruin the finish.
- Tape off walls, counters, and fixtures near the cabinets.
- Apply primer if the old finish is glossy, stained, or uneven.
Common Mistakes to Avoid
One of the biggest mistakes is not cleaning enough. Bathroom cabinets may look fine at first, but many have a thin layer of hairspray, toothpaste mist, and hand oils. Sanding over that dirt can grind it into the surface instead of removing it.
Another common problem is using the wrong sandpaper. If it is too rough, it can leave deep scratches. If it is too fine, it may not dull the old coating enough. A medium grit followed by a finer grit usually works well.
People also make mistakes when they work too fast. If wood filler, cleaner, or primer does not dry fully, the final coating may bubble or peel. In bathroom refinishing, moisture is already a challenge, so dry time matters even more.
- Do not paint or stain over dirt
- Do not skip sanding glossy areas
- Do not leave dust on the surface
- Do not ignore water damage
- Do not rush dry time between steps
When to Call a Professional
Some cabinets are easy to prep. Others need more than basic cleaning and sanding. If you see swollen wood, layers of old peeling paint, mold, or warped doors, it may be time to call a pro. Heavy damage can make a simple refinish job much harder.
A professional can also help if you want a very smooth factory-style finish. Brush marks, drips, and uneven edges are common in do-it-yourself work. A trained crew can often spot hidden issues early and choose the right products for long-lasting bathroom refinishing results.
If your bathroom cabinets are part of a full remodel or your schedule is tight, expert help can save time and reduce mess. This is also helpful when the cabinets are made from tricky materials like laminate, thermofoil, or low-grade particleboard. These surfaces do not always respond well to the same prep methods used on solid wood.
Final Recommendation
If you want cabinet refinishing to last, focus on prep more than speed. Clean every surface, repair small flaws, sand with care, and remove all dust before you move to the next step. Homeowners in Riverdale, UT often get better results when they do not cut corners on prep. If you want help with bathroom refinishing, contact For Your Rooms Only to talk through your project. Call us at (801) 710-9681, and we can help you decide the next step for your cabinets.